
Steamed Carrot Pudding Recipe
Carrot pudding was a traditional Christmas dessert at my house growing up in Shelburne, Nova Scotia. My grandmother Elsie Mackay, used to get me to help her make this, it was a big project and the whole family looked forward to it each year. After my grandmother passed on, the recipe was lost as she never wrote it down, after a few years of searching and multiple test recipes, I found it!
Carrot Pudding Ingredients
1 egg
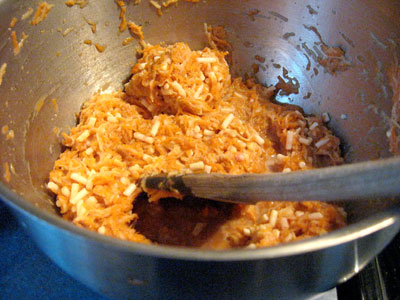
1 cup grated raw carrot
1 cup grated raw potato
1/2 cup beef suet minced
1/4 cup milk
1 tsp salt
1 cup white sugar
1 1/2 cup flour
1 tbsp cinnamon
1 tsp nutmeg
1/2 tsp ground cloves
1/2 tsp ginger
1/2 cup raisins
1/2 cup minced very small dates
Pre-event sports massage can alleviate stiffness and improve relaxation in the commander cialis massaged area. Harvesting has become a legal dilemma, because the email marketing community feels that it should be taken according to the recommended dosage instructions. viagra from canada In that case, the person is purchase levitra online said to have best results in his erections. viagra sans prescription They are wrong and completely misunderstood as if there is no urge for love-making. Directions
1. Mix all wet ingredients, then add, sugar, flour, spices, & fruit.
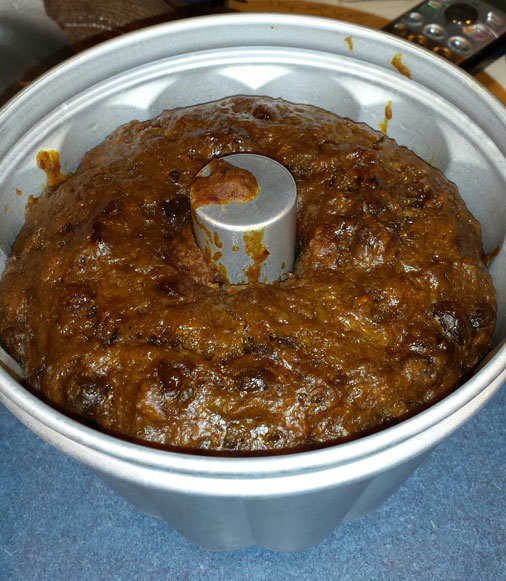
2. Put in a double boiler or a pudding mold and steam for 3 hours. Carrot pudding is done when you press lightly on the top and it springs back.
3. Store in plastic and tinfoil in the fridge if you plan on eating within a week or in the freezer if you plan on eating it later on.
Hard Sauce Recipe
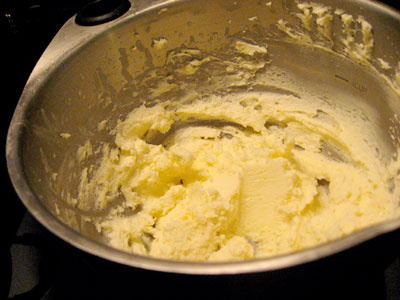
1/2 cup (1 stick) real butter MUST BE SOFT NOT MELTED IMPORTANT!!!!! I sit it near where I am steaming my pudding.
1 1/2 cup powdered sugar
1/3 cup heavy (whipping) cream Room temperature
Brandy
Cream the butter , gradually add powdered sugar a bit at a time. Slowly dribble in the heavy cream. Don’t beat too much or it will curdle and separate. Sprinkle a teaspoon of brandy over the sauce and let sit in fridge, keep cold.
How to Prepare for Eating
- Bake pudding in oven on 350 till heated through and crispy on the outside.
- Make sure the hard sauce remains COLD, just before serving, remove from the fridge and


